Introduction
When you press the power button on your Linux system, a series of events occurs behind the scenes before you see the familiar login prompt. Understanding the Linux boot process can be beneficial for troubleshooting, system administration, and gaining a deeper understanding of how your system works.
In this article, we will explore the six high-level stages of a typical Linux boot process. Each stage plays a crucial role in bringing your system to life. So, let’s dive in and uncover the mysteries of Linux booting!
1. BIOS: Initializing the System
The first stage of the Linux boot process is the BIOS (Basic Input/Output System). As soon as you press the power button, the BIOS starts performing system integrity checks and searches for the boot loader program. It looks for the boot loader in various storage devices such as floppy disks, CD-ROMs, or hard drives.
To modify the boot sequence, you can press a specific key (usually F12 or F2) during the BIOS startup. Once the boot loader program is detected and loaded into memory, the BIOS hands over control to it. In simpler terms, the BIOS loads and executes the MBR (Master Boot Record) boot loader.
2. MBR: Loading the Boot Loader
The second stage of the Linux boot process involves the MBR, which is located in the first sector of the bootable disk (e.g., /dev/hda or /dev/sda). The MBR is less than 512 bytes in size and consists of three components: the primary boot loader info, the partition table info, and the MBR validation check.
The MBR contains crucial information about the boot loader, such as GRUB (Grand Unified Bootloader) or LILO (Linux Loader). Once again, in simple terms, the MBR loads and executes the GRUB boot loader.
3. GRUB: Choosing the Kernel Image
At the third stage, the GRUB (Grand Unified Bootloader) comes into play. GRUB displays a splash screen and waits for a few seconds, allowing you to choose the kernel image you want to execute if multiple kernels are installed on your system.
If no selection is made, GRUB loads the default kernel image specified in the grub configuration file. One notable advantage of GRUB over the older Linux loader, LILO, is its ability to understand filesystems. The grub configuration file, usually located at /boot/grub/grub.conf (or a link at /etc/grub.conf), contains the necessary information for GRUB to function properly.
# Example grub.conf
#boot=/dev/sda
default=0
timeout=5
splashimage=(hd0,0)/boot/grub/splash.xpm.gz
hiddenmenu
title CentOS (2.6.18-194.el5PAE)
          root (hd0,0)
          kernel /boot/vmlinuz-2.6.18-194.el5PAE ro root=LABEL=/
          initrd /boot/initrd-2.6.18-194.el5PAE.img
As you can see, the grub.conf file contains the kernel and initrd (Initial RAM Disk) images. In essence, GRUB’s role is to load and execute these images.
4. Kernel: Building the Foundation
The fourth stage of the Linux boot process involves the kernel. The kernel is responsible for mounting the root file system as specified in the “root=” parameter in the grub.conf file. Once the root file system is mounted, the kernel executes the /sbin/init program, which is the first program to be executed by the Linux Kernel.
You can verify this by running the command ps -ef | grep init and checking the process ID (PID) of the init program, which is always 1. Additionally, the kernel uses the initrd (Initial RAM Disk) as a temporary root file system until the real root file system is mounted. The initrd also contains necessary drivers compiled inside, enabling the kernel to access hard drive partitions and other hardware.
5. Init: Determining the Run Level
At the fifth stage, the init process takes over. The init process looks at the /etc/inittab file to determine the Linux run level. The run level determines the state of the system and the services that should be started.
The available run levels are as follows:
- 0: Halt
- 1: Single user mode
- 2: Multiuser, without NFS
- 3: Full multiuser mode
- 4: Unused
- 5: X11 (Graphical User Interface)
- 6: Reboot
By default, the init process identifies the default run level from the /etc/inittab file and uses it to load all the appropriate programs. To identify the default run level on your system, you can execute the command grep initdefault /etc/inittab. It is generally recommended to set the default run level to either 3 or 5.
6. Runlevel Programs: Starting System Services
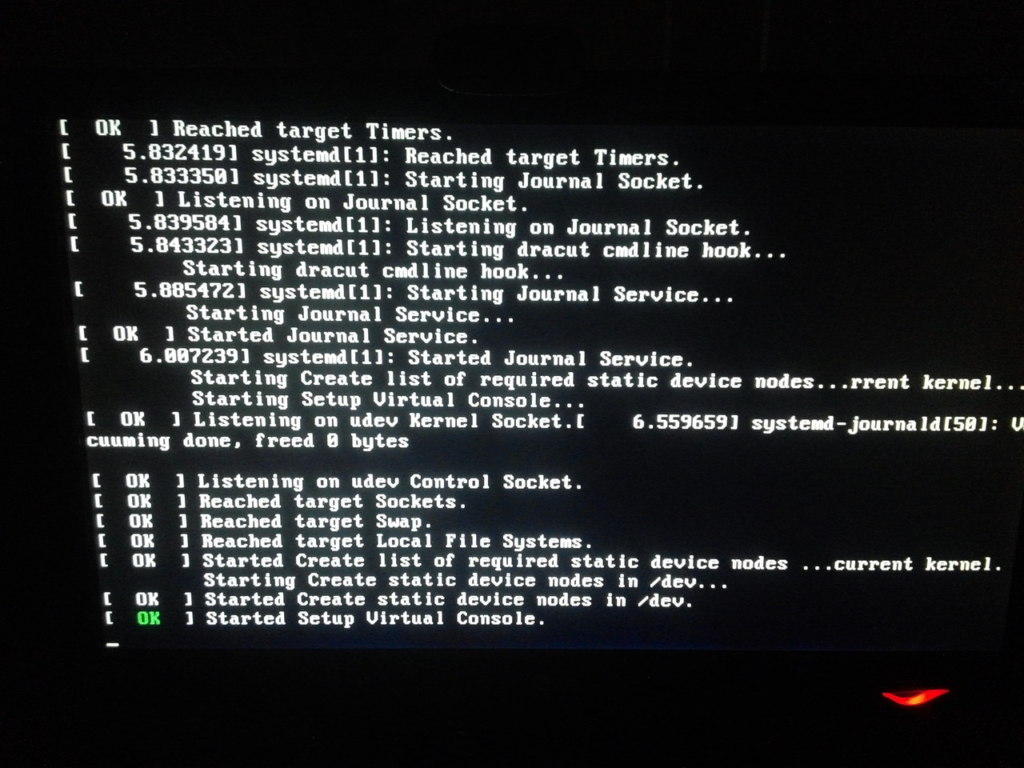
The final stage of the Linux boot process involves the execution of runlevel programs. These programs are responsible for starting various services as the system boots up. You may have noticed messages like “starting sendmail …. OK” during the boot process. These messages indicate the execution of runlevel programs.
Depending on the default run level setting, the system executes programs from the corresponding run level directories. Here are the directories associated with each run level:
- Run level 0: /etc/rc.d/rc0.d/
- Run level 1: /etc/rc.d/rc1.d/
- Run level 2: /etc/rc.d/rc2.d/
- Run level 3: /etc/rc.d/rc3.d/
- Run level 4: /etc/rc.d/rc4.d/
- Run level 5: /etc/rc.d/rc5.d/
- Run level 6: /etc/rc.d/rc6.d/
Please note that symbolic links are also available for these directories under /etc directly. For example, /etc/rc0.d is linked to /etc/rc.d/rc0.d.
Within the run level directories, you will find programs starting with either ‘S’ or ‘K’. Programs starting with ‘S’ are used during startup, while programs starting with ‘K’ are used during shutdown. The numbers following ‘S’ or ‘K’ indicate the sequence in which the programs should be started or killed.
For instance, ‘S12syslog’ is responsible for starting the syslog daemon, with a sequence number of 12. On the other hand, ‘K80sendmail’ is responsible for stopping the sendmail daemon, with a sequence number of 80. This means that the syslog program will be started before sendmail.
Conclusion
By understanding the six stages of the Linux boot process, you gain valuable insights into the inner workings of your system. From the BIOS to the execution of runlevel programs, each stage plays a crucial role in bringing your Linux system to life.
Remember, troubleshooting and system administration becomes easier when you have a solid grasp of the boot process. So, continue exploring the fascinating world of Linux, and harness the power of this versatile operating system.
Now that you have a comprehensive understanding of the Linux boot process, you can confidently navigate the intricacies of your system and unlock its full potential. Happy booting!